Saturday, June 8, 2013

Cake Pops

I think cakes pops are the neatest little thing and they are the hardest thing for me to make. . . at least they were. I was on Pinterest one day, and saw the greatest "how-to" blog on them here. I have done the cake balls before with great success, but I never could get these cake pops to work on their cute little sticks.When a friend asked if I could do something for a wedding shower she was hosting, I thought this might be the time to try it out with my new tips.

My most important step in doing the pops was to have the right equipment. I could have saved so much time and stress by having the right things to do my work. Wal-Mart has this great little "cake pop decorator stand" for $3.50. Let me tell you, that was the best money I ever spent. I tried to create my own stand, and that just didn't work out right. :)

My cake pop maker

I also had a cake pop maker. Mine is a little Bella brand cake pop maker. . . Those little electronics are normally what my kids get me for Mother's day, birthday or Christmas. The packaging said that it makes them in 3-5 minutes. . .  and it makes 12! When I first got it, I thought it only made 6. I used Wilton Candy melts, and those great little round Popsicle sticks. I also made it really simple by using cake mixes this time. I had a really handy little scoop from Pampered Chef (it is their smallest size) that was the perfect size for cake pops.

My first step was to make my cake mix. I plugged in my maker. Then I used Pam on my cake pop maker. . .  the tops and the bottoms. I used my smallest Pampered Chef scoop which filled the holes perfectly. Shut the lid and let it go for about 3 or 4 minutes. When I did the chocolate, it took closer to 5 minutes. You need to fill these quickly as it starts cooking immediately.

Step 1
I opened it up and had to let them cool for just a bit before I removed them with a skewer.
Step 2
Notice that they are not perfect. After you remove them and let them cool, you can trim them up. I just put them on a little plate and then went to my next round.

It didn't really matter if they were too perfect, because the candy covers it well.

After letting them cool, it was time to melt the candy. According to the blog I had been reading, it suggested to add shortening to the candy melts to thin down the mixture. I realized that might have been my huge problem all along. I think almond bark is great, but way too thick. Candy melts are wonderful because they come in great colors, but it is still just a bit too heavy. When I saw a picture of this person using shortening on the little candy wafers, I realized what one of my problems had been all along. My candy was too thick and heavy making everything fall off the sticks. This blog that I mentioned, also showed a great way to keep the cake pops on. My following pictures will attempt at doing a "how to" justice, but can I say again how much I loved that blog.


Step 1: Using your pop stick, make a hole.

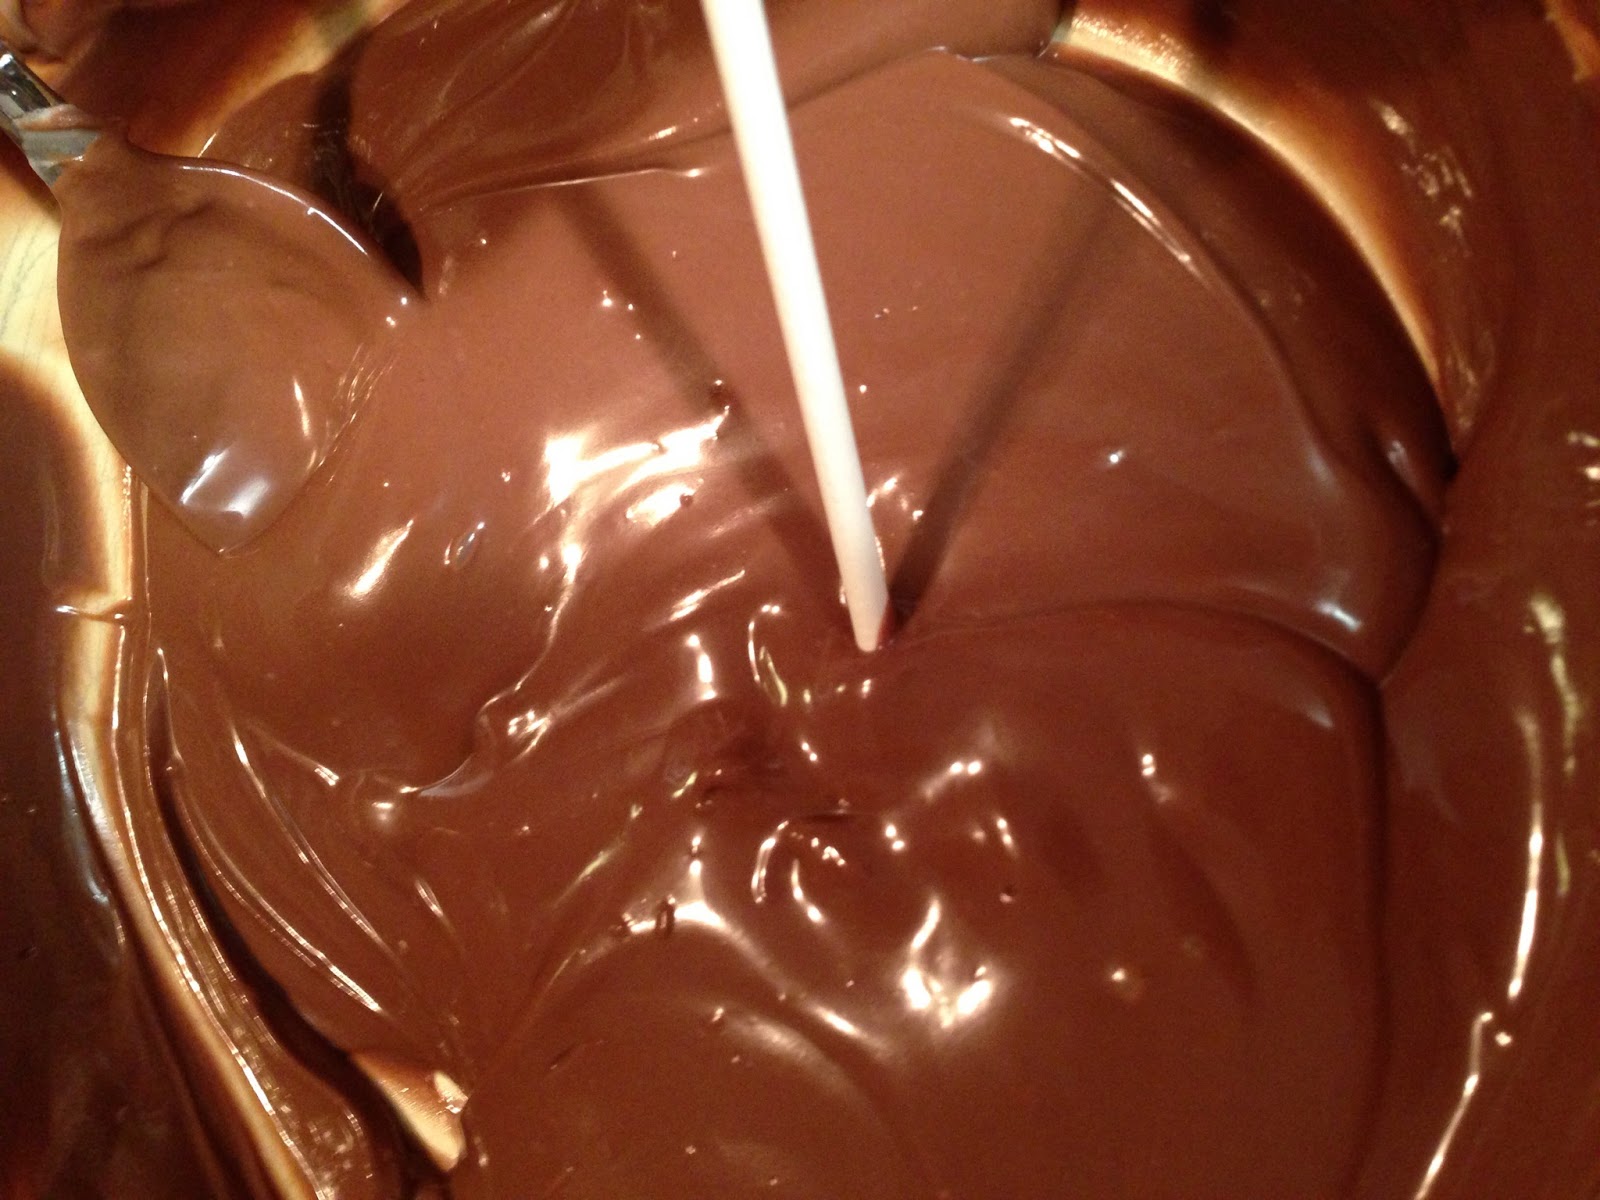
Step 2: Using that same stick, dip it into your candy. This will act as a glue.

Step 3: Put the stick back in. It's like having a pre-drilled hole when you are putting something together.
After that, I let this candy set up a bit before I dipped it completely in the candy. This has to be done quickly, and your candy has to stay thin. If it gets too stiff on you just warm it back up for a bit. Do a quick coat and swirl and get it back out of there. Put it back in the cake pop stand and it sets up nicely. I put sprinkles on these. If you do that, please don't forget to do it before the candy hardens. The sprinkles won't stick if the candy isn't soft enough.

I have to say, once I got the right supplies, I found a rhythm and really enjoyed making this as a slight deviation from my usual cupcakes. I do believe I will continue to make these now that I have found some great steps to follow.


This little stand was perfect!
My attempt at a stand, not so much!


Monday, May 6, 2013

Red Velvet Cupcakes

I haven't written a blog in a while. It was a very busy April and now I am getting into May and haven't written about any cupcakes that I have most definitely made. We've had numerous soccer games (or rain outs anyway), my son's birthday party, I helped with the Holy Week lunches at church,by providing cupcakes, of course :) and I have subbed at the school a bunch!!! During the Holy Week lunches, I took a few requests from some special people on what kind of cupcakes they wanted. One very special lady asked for Red Velvet. I do not like red velvet cake. . . or at least what I have tasted as red velvet. I have tried the cake mix variety and a bite of other red velvet cakes and not been a fan. Because this lady is so special, I decided I would try to find a suitable recipe. Once I made this, several people thoroughly enjoyed it so I am very glad I adjusted this recipe to meet my cupcake fancy.

Powdered butter milk
One thing this recipe called for was buttermilk. I only use buttermilk sparingly, so I really don't like to buy it. My sister-in-law has in the past, used a "powdered buttermilk" and I thought I would give it a go for this recipe. This is an easy product to use. The container shows on the back how much powder and water to use. It states to put the powder in with your dry ingredients, and put the water in when it says to put in the buttermilk. If you buy buttermilk a lot or if you just "sour" your milk with a tablespoon of vinegar, this paragraph will be pointless for you. Just ignore it :) I am going to write my recipe below in the way that I did it. You can always check the above link to follow that recipe.


Ingredients:
2 1/2 cups flour
1 1/2 cups sugar
1 teaspoon baking soda
1 teaspoon cocoa
1 cups buttermilk* (4TBSP buttermilk powder and 1 cup water, divided)
1 1/2 cups vegetable oil
2 eggs
Red food coloring (I used a gel coloring)
1 teaspoon distilled vinegar
1 teaspoon vanilla

A stiff cream cheese frosting to swirl on cupcakes (recipe listed below)


Directions:
Preheat oven to 350 and line muffin tin with cupcake liners.

Sift dry ingredients together: flour, sugar, baking soda and cocoa. *This is also when I added my 4 TBSP powdered buttermilk to the dry ingredients. In another bowl add the buttermilk (or in my case water), oil, eggs, vinegar, vanilla and food coloring. Mix the two together and put in prepared cupcake pans. I baked this for about 22 minutes and I believe I got about 18 out of this recipe.
It was a little "pink" before it was baked
On the outside, it was a little pink.


Cream Cheese Frosting
Mix these ingredients until smooth.
*1 stick of butter
*1 8 oz package cream cheese
*1 tsp vanilla
*8 cups powdered sugar (more if you need it stiffer to pipe, maybe a little less if you just want to spread it)
*2 TBSP milk (dependent on how thin or thick you want your icing)

Iced with a round tip, Red Velvet cupcakes.


These were well received by everyone. I actually liked the taste of this. It just goes to show a good recipe (and a cake not over done) can really change your perspective on something you might not like.

Wednesday, April 3, 2013

Sports Themed Cupcakes

Tennis, basketball, soccer, softball and baseball
Spring has always been one of my most favorite times of the year. It means beautiful flowers and new beginnings. . .and major sports!!!! I was a little bit of a ball player when I was younger, softball being my favorite, but I loved track too and then there was basketball. Spring meant baseball/softball was beginning--the smell of dirt, leather and sweat all remind me of Spring as much as a daffodil! I know I am so weird, but that's OK! I totally admit it. Anyway, in my house. . . Spring is a wonderful time of year. . . It is March Madness (NCAA basketball), Opening Day (MLB baseball), NBA finals (really, I am just glad it is over, but now that we have a team in Oklahoma, I like the NBA a little better), The Masters (golf), and now that I have children, soccer is in full swing (actually they play in both the fall and spring, but it all starts again now). Because I love sports so much, I thought I would make some sports themed cupcakes. And since the "near-perfect game" last night, I thought I need to pull this one out and write about it.

I have this really cool domed cupcake pan. I simply started out with a cake mix. If my goal is a designed cupcake, I generally start out with a cake mix, just to simplify my life a little. Anyway, what I did on this day was to start with a yellow cake mix. I filled my pans about 2/3-3/4 full as you can see above. There will be a little "rounding of the cupcakes" and you can just slice that off after the cupcakes have cooled. If you fill them with less batter all it will do is just make a smaller ball; it won't go to the top and flatten out. If you don't have a pan like this, you can always use a regular cupcake pan, or you can use oven safe mugs. Another option would be to make this in a 13x9 pan and use a biscuit cutter and cut out circles. They might not have the dome shape, but they would be a little more "round in shape" than just a cupcake.
As you can see here, mine were slightly rounded. I just ran a knife along the top and flattened it out.
When I use a shaped cupcake pan like this one (I also have some adorable silicone pans that have shapes, I think they are Wilton brand), I use Candy Melts instead of icing. You can also use Almond Bark, but I think Almond Bark is a little thicker and sets up harder and it isn't as easy to bite through. Candy Melts come in a variety of flavors and colors and set up in a nice thin coating over the cake. When using candy melts, just follow the packaging; those directions really are spot on. If you have never used them, just keep checking them in the microwave and stirring every 30 seconds or so until they are completely melted.

You have a couple of options when using a melted candy. You can just dip the cake into the candy like I have done here. If you have a really crumbly cake, that won't work as well because the crumbs will just get into your candy. If you do that, you will have to coat it twice and use two different bowls of melted candy. One will be your "crumb coat" and the other will be your coating that will show.
Dipping my cupcakes
After I dipped my cupcake, I pulled it out (you can see in my picture above that there is just a little space that I can hold on to. I also used my mini-spatula to help it along. I put my cupcake on a rack to let set. You can also freeze or refrigerate them to make it go faster, but it isn't necessary if you have the patience. I just don't have the freezer space, so I just left them on my countertop.
Letting them set up
After I dipped all of my cupcakes in a variety of colors--white for baseball and soccer, orange for basketball, yellow for softball and tennis--I put the finishing touches on them. I had to do this step twice because I didn't have my skinny tips for the icing. I just used the Wilton icing tubes. It is so hard to get the pure colors--the red and the black. I bought white too, since I wasn't making any other icing. After I replaced the tips that I let the garbage disposal eat, I pulled the icing off and tried to "re-work" the magic.

My cupcakes with the larger tips
The "re-worked" cupcakes.


Tuesday, March 26, 2013

Resurrection Cupcakes

My resurrection cupcake
I had a little green icing leftover one day, so I decided to try something out. I have previously mentioned that I was trying to figure out how to make a cupcake that reflected my faith, but didn't seem. . . I don't know weird. I mean really, I can't imagine eating a baby Jesus (at Christmas) and it just didn't seem right to put a cross on a cupcake (at least to me). To me, cupcakes just seem to scream CELEBRATION! So I began to think, what is it I "celebrate" at this Easter season. It is the resurrection. So I decided to make a cupcake depicting something so significant to the Christian faith. . . the empty tomb.

I started out with a cake mix. It was just a nice simple thing . . . I think it was cherry chip because I wanted to experiment with some cherry icing. Anyway. . .I knew I could do my empty tomb cupcake a few different ways. I could stack a mini cupcake on top of a regular sized cupcake. . . to give it a more domed shape. . . I could just pile it high with icing. . . or I could do it this third way.

I used my handy dandy "cupcake corer" tool and cut out a portion of the cupcake. I filled my hole with a little icing. I put a little black icing on the top of the small piece and then I placed it on its side. I don't have pictures of this. . . I honestly didn't think about it as I was doing it. This was such a spur of the moment idea that I really didn't think to have my camera handy during this process in order to blog about it.

I thought it looked like a one eyed monster here :()
After I put the black icing on it, I piped the green icing on with my "grassy" tip. I mentioned in a previous blog that you could use this tip or just a star tip and do an elongated star for grass.
My grassy tip


I thought it needed some type of a "stone" that was rolled away. I had some leftover "robin's eggs" from a previous project and used one as a stone.

I thought of just using a little white icing until I hit on the "robin's egg" idea

I thought I needed a path also. I used a little brown sugar and patted it down to make my path.


There really isn't much more to say. . . I normally say something like these were a cute and yummy cupcake. .  but I have a hard time thinking of it as "cute". It is very symbolic. . . and it tasted good. You can't really go wrong with a mix. :)

Thursday, March 14, 2013

Easter Bunny Cupcakes


While the Easter Bunny isn't the most significant part of our Easter celebration, he is still cute little symbol at Springtime.While I still contemplate how to make a cupcake to reflect my faith, I had this sweet little bunny idea in my head. I honestly don't know if I saw it on Pinterest, or if it was just totally one of those things I envisioned.

I started out my cupcake with a cake mix. I wanted to doctor it up a bit, to put my own stamp on it.

My starting point--Picking a cake mix
To put my stamp on it, I chose to replace the eggs with banana. The ratio is supposed to be one banana per egg.

I mashed these with my hand mixer.
I left the oil the same as what was on the box, but I replaced the water with a strawberry-banana nectar.

This is the brand our store carries, but other brands exist.

After it was blended well, I placed them in my prepared cupcake pans (I have tried the others and I think the Reynolds Stay Brite baking cup is just the best). I normally do not get 24 cupcakes out of a mix. . . it is closer to 18. This time, I did get 21.

Now if this recipe looks familiar, I have blogged about it before here. I just used this one, because I had everything on hand and needed to use my bananas. Depending on what my goal is with the cupcake depends on if I use a cake mix or make it from scratch. If it is "cuteness" I am after, a lot of times I will start with a cake mix. It will just save a lot of steps since for that particular cupcake, I will be spending the majority of my time on the decorating.

I made my traditional buttercream which is 1 stick butter, 1/2 cup shortening, approx 4 cups of powdered sugar (I sift it first and it makes it so much better), 2 TBSP milk and 1 TSP vanilla. I tinted my icing green to give it the grassy effect. I probably could have made it a deeper green, but if too much of the coloring goes in, sometimes, it affects the taste of the icing.

My first step after making the icing was to place it in my "piping" bag with a #233 tip. When using a tip such as this one, you really need to make sure you have no lumps in your icing. This is another fabulous benefit of taking the 30 extra seconds to sift your powdered sugar. If you don't have this tip, you can also use the star tip and do the same type of thing.

See how it looks kind of stringy and grass-like
If you have ever made one of those cakes that are filled with the "stars" all over. . . you will know exactly what to do next. You take this tip and just dab all over, pulling out a little to give it the grassy effect. If you have never made one this way. . . that's ok. You can still do this too. You seriously just plop the icing all over the place. Because it is supposed to look grassy, you could even just make a big circle all over the cupcake. I am sure after one or two times of doing a cupcake, you would get the hang of it. If you mess up, you could always peel it off the cupcake and try again. You might practice on some waxed paper or parchment paper before you go to the cupcake.

You can tell that this is just squiggles. This tip is fabulous.
After that I thought it needed some cute little Easter Eggs.

My Easter Egg option.

I just placed these right on top of the cupcake. I only used 3 on each one, because I wanted to put the peep on top.
My "Easter Eggs"
This would actually make a really cute cupcake on its own, but I needed to add the peep. You can also take a little more of your icing and cover your "eggs" with them. . . to make them look a little more hidden.

Still a cute cupcake, even without the peep.

These were a cute yet simple cupcake. The batter for this cupcake is moist. I am sure they would keep, refrigerated, for a couple of days. They just normally don't stay around longer than 24 hours. With the added cuteness of the season, these were gone in an instant.

Friday, March 8, 2013

Butterfinger-y Cupcake

Butterfinger Cupcake
I make a pretty yummy dessert around Halloween time that is a "homemade version" of my most favorite candy bar. . . the Butterfinger! Now that I am in this cupcake mode,  I should try to make a cupcake that reminds me of that oh so fabulous candy bar. I was trying to figure out how to do it, when a friend told me she made a healthful Butterfinger shake and she used butterscotch pudding mix. I thought it was crazy, but I tried to make my own version, and lo and behold, it tasted just like a Butterfinger! I thought I will try to find a really great peanut butter cupcake recipe and add some butterscotch pudding mix to it. I found a fabulous starter recipe here. And bonus, it has a really good chocolate buttercream frosting recipe too!

As soon as they were cool enough, I frosted this yumminess. I will be totally honest, I am not one of those really good people who never taste a batter because of the raw eggs. I know, totally not OK, but I did it anyway :) When I tasted the batter, I thought the cupcake would be more "Reese's Peanut butter cup like". After it was baked and iced. I think it had a definite butterfinger taste. I made 18 out of this recipe, and I frosted 13 in this way. I didn't have enough to finish doing the little swirl, so for the remaining 5, I just slathered it on and then garnished it with crushed Butterfingers--I just barely had enough icing for this. I didn't even have enough left over to eat by itself later ;) This was a yummy cupcake. The cake itself was a little on the crumbly side, but it was oh so delicious! As soon as I got them done, I immediately shared this with the teachers at school. It was perfect timing. ..  most of them were finishing up lunch.

Ingredients:
1 1/2 cups flour
2 1/2 tsp baking powder
2 eggs
2/3 cups sugar
3/4 cups butter, melted
2 tsp vanilla
1/2 cup milk
1/2 cup peanut butter
1 4oz package butterscotch pudding mix

Directions:
Preheat oven to 350 and prepare cupcake pan. I use liners. The Wilton Brand is OK, but I prefer the Reynolds brand.

Sift flour and baking powder together in a large bowl. Add in eggs and sugar and combine with an electric mixer. (It begins to look really lumpy, but don't worry, it will smooth out.) While mixing, add in the butter, then the vanilla.
You can use the non sugar-free option, this is just what I had available.

Mix in the peanut butter. . . stream in the milk. The last thing I added was my pudding mix. And I blended it together. I used my "handy dandy" Pampered Chef scoop, and I put 1 scoop in each, and I made 18. I baked these for about 20 minutes.

Frosting:
1/4 cup shortening (I use Butter Flavored Crisco)
1/4 cup butter, softened
1/3 cup cocoa
1/2 tsp Vanilla
2 cups powdered sugar
2 TBSP milk

I put this together like I do all my buttercream recipes. I start by blending the butter. Then on this one I added the cocoa. I always do my milk and vanilla next. And my last ingredient is my powdered sugar. I do sift my powdered sugar, I think it makes a huge difference. I can always tweak my recipe a bit--add in more sugar or milk based on the consistency I want. This recipe would easily frost 12, but not quite all 18 since I like to pipe my frosting using a piping bag and a large tip (1M).

 Since I didn't quite have enough to pipe it on all the rest, I just "smeared" the frosting on top. I sprinkled crushed a Butterfinger candy bar on top to garnish.


Cupcakes with crushed Butterfingers on top.

Friday, March 1, 2013

The Lorax Inspired Cupcakes

My Lorax inspired cupcakes
I just love how I can plan on something. . . then something new happens. . .and I have to change my plans. I always joke that, "Man makes his plans. . . and God laughs!" I had my next few blogs planned out of previous cupcakes I made. . . but since I am a substitute teacher, and it is flu season, I got the phone call a lot this week. I knew some of the classes were doing some Dr. Seuss themed things since his "birthday" is tomorrow. I thought how great would it be to do a cupcake of Seussical proportions. . .My inspiration was The Lorax. Now I have not seen the new version, but that drawing of him is where I got my motivation. I obviously cannot share them with the children at school, but I can share with the teachers and my own children can share in the fun of the cupcakes.

Polaner's All Fruit
I made these an orange flavor, both in the cupcake and in the icing. I started with my favorite white cake recipe as my base and I made a basic buttercream and used orange extract and orange juice instead of vanilla and milk. I needed to make it a little different so I could make it orange flavored. You could also use a white, yellow or lemon cake mix and do the same things. I will post the recipe at the end. What I did was add orange extract to my cupcake recipe and then I added about 1/4 cups of orange jelly (I used Polaner's All Fruit). You could most definitely do this to a cake mix if you didn't want to make the cake from scratch.

I found these fabulous eyes at Walmart, and I thought they would be perfect for the eyes for the Lorax inspired cupcake. The package I bought was the Large size. It had 24 in the package for $3.50 .
 
Candy Eyeballs


I made a double batch of my buttercream icing and tinted most of it orange. I reserved about 1 cup and tinted it yellow. I flavored it all orange. For a basic buttercream that you want to pipe on to cupcakes (single recipe)--1 stick of butter, 1/2 cup shortening, 2 TBSP liquid (I usually use milk, but for this today I used OJ) and 1 TSP of vanilla (today I used orange extract).

I used the #21 tip to pipe the orange on to the cupcake. What is great about this is that it can be a little "messy." I just piped it on. You could also spread it onto the cupcake and then just put a few strategically placed "elongated star shape" onto it. I pretty much did a big squiggle all over it, and then a few "elongated stars" to make him look "hairy"
The base of the Lorax cupcakes

The next step was to put the eyebrows and mustache on the fella. I tinted this icing yellow. I used the #32 tip (it is a little broader). It is very similar to the "shell" design that you might make in cake decorating. I did the same thing for his mustache.
The Lorax with eyebrows and mustache

Originally I didn't have the nose on, and it was just missing something. I remember that I had some orange M & Ms left from a previous project, so I thought those would make the perfect nose. I got these at the candy store at the mall. They have a variety of colors.

The Lorax with his nose.

My final step was to put on those fabulous candy eyes. I think they turned out SUPER CUTE! And they had some pretty good flavor!

Packaged up and ready for some of the teachers at school

Now for my orange cupcake recipe. I have made a "orange dreamy" cupcake before and this is slightly different.

Ingredients:
1 cup sugar
1/2 cup butter
2 eggs
1/2 TSP vanilla
1 1/2 TSP orange extract
1 1/2 cup flour
1 3/4 TSP baking powder
1/2 cup milk
1/4 cup orange jelly (Polaner's All Fruit)

Directions:

Preheat oven to 350. Cream butter and sugar together. Add the eggs in one at a time. Add the flavorings (vanilla and the orange). Sift the flour and baking powder into the mixture, slowly add in the milk. Fold in the orange jelly and tint the batter if desired. This make about 18 cupcakes for me. Bake for about 20 minutes.

After cooling, I decorated those cupcakes.

I thought they were super cute, and that they tasted quite nicely too. It was fun to do and fun to eat. I will be honest, this is one of my favorite "looking" cupcakes. I really like my tie-dyed ones too, but I think these. . . take the cake! (Yes the pun was intended!)

If you want my recipes/ideas for my Tie-dyed cupcakes or any of my others, you can check my archives or follow any of the highlighted words (those are links to other sites or blogs).