I think cakes pops are the neatest little thing and they are the hardest thing for me to make. . . at least they were. I was on Pinterest one day, and saw the greatest "how-to" blog on them
here. I have done the cake balls before with great success, but I never could
get these cake pops to work on their cute little sticks.When a friend asked if I could do something for a wedding shower she was hosting, I thought this might be the time to try it out with my new tips.
My most important step in doing the pops was to have the right equipment. I could have saved so much time and stress by having the right things to do my work. Wal-Mart has this great little "cake pop decorator stand" for $3.50. Let me tell you, that was the best money I ever spent. I tried to create my own stand, and that just didn't work out right. :)
 |
| My cake pop maker |
I also had a cake pop maker. Mine is a little Bella brand cake pop maker. . . Those little electronics are normally what my kids get me for Mother's day, birthday or Christmas. The packaging said that it makes them in 3-5 minutes. . . and it makes 12! When I first got it, I thought it only made 6. I used Wilton Candy melts, and those great little round Popsicle sticks. I also made it really simple by using cake mixes this time. I had a really handy little scoop from Pampered Chef (it is their smallest size) that was the perfect size for cake pops.
My first step was to make my cake mix. I plugged in my maker. Then I used Pam on my cake pop maker. . . the tops and the bottoms. I used my smallest Pampered Chef scoop which filled the holes perfectly. Shut the lid and let it go for about 3 or 4 minutes. When I did the chocolate, it took closer to 5 minutes. You need to fill these quickly as it starts cooking immediately.
 |
| Step 1 |
I opened it up and had to let them cool for just a bit before I removed them with a skewer.
 |
| Step 2 |
Notice that they are not perfect. After you remove them and let them cool, you can trim them up. I just put them on a little plate and then went to my next round.
It didn't really matter if they were too perfect, because the candy covers it well.
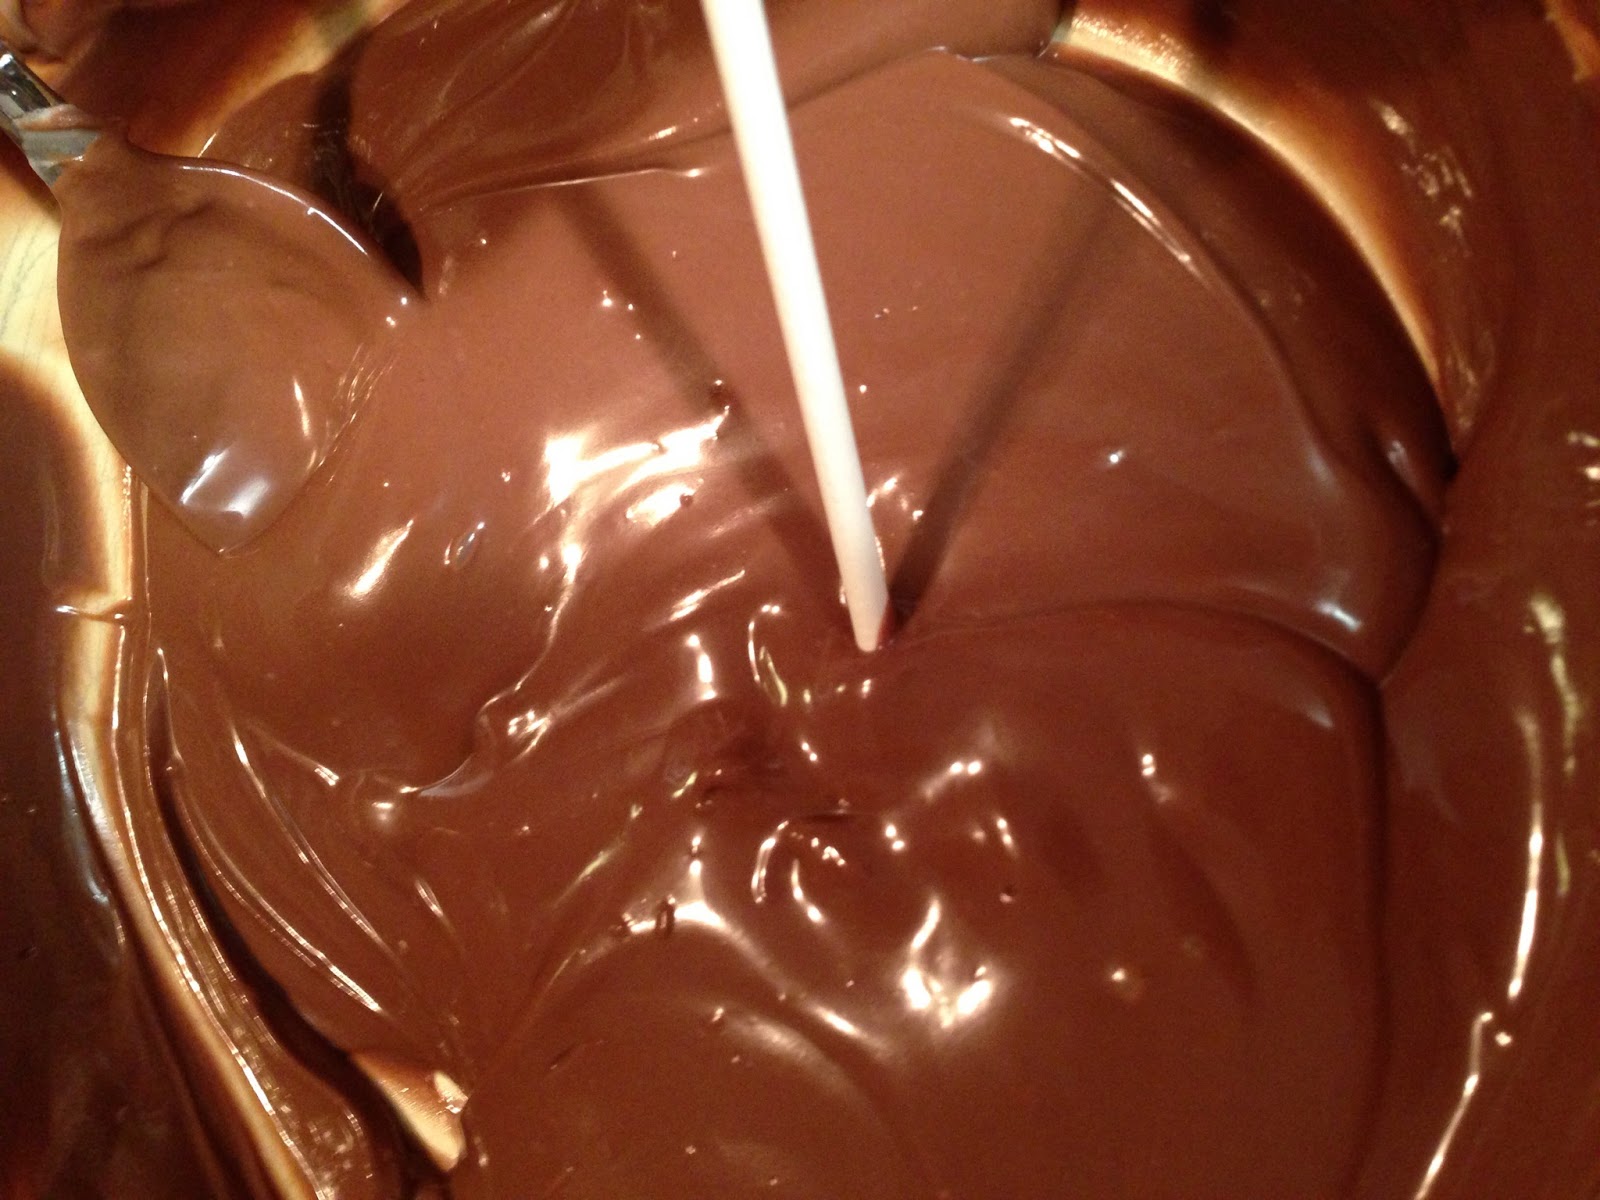
After letting them cool, it was time to melt the candy. According to the blog I had been reading, it suggested to add shortening to the candy melts to thin down the mixture. I realized that might have been my huge problem all along. I think almond bark is great, but way too thick. Candy melts are wonderful because they come in great colors, but it is still just a bit too heavy. When I saw a picture of this person using shortening on the little candy wafers, I realized what one of my problems had been all along. My candy was too thick and heavy making everything fall off the sticks. This blog that I mentioned, also showed a great way to keep the cake pops on. My following pictures will attempt at doing a "how to" justice, but can I say again how much I loved that blog.
 |
| Step 1: Using your pop stick, make a hole. |
 |
| Step 2: Using that same stick, dip it into your candy. This will act as a glue. |
 |
| Step 3: Put the stick back in. It's like having a pre-drilled hole when you are putting something together. |
After that, I let this candy set up a bit before I dipped it completely in the candy. This has to be done quickly, and your candy has to stay thin. If it gets too stiff on you just warm it back up for a bit. Do a quick coat and swirl and get it back out of there. Put it back in the cake pop stand and it sets up nicely. I put sprinkles on these. If you do that, please don't forget to do it before the candy hardens. The sprinkles won't stick if the candy isn't soft enough.
I have to say, once I got the right supplies, I found a rhythm and really enjoyed making this as a slight deviation from my usual cupcakes. I do believe I will continue to make these now that I have found some great steps to follow.
 |
| This little stand was perfect! |
 |
| My attempt at a stand, not so much! |

